Sunday, February 27, 2011

Yummy Mexican Turkey Meatballs

This was my first attempt at making meatballs and they turned out really good! I found the recipe from Better Homes and Gardens, but modified it a bit.


2 eggs
2/3 cup fine dry bread crumbs
1/3 cup chopped fresh cilantro
2 tsp garlic paste (or fresh garlic cloves)
2 tsp dried oregano
2 tsp chili powder
1 tsp salt
1 tsp ground cumin
2 lb ground turkey ( I just used 1 package and it was fine 1.25 lb)
2 tbsp olive oil

Preheat oven to 400 degrees. Spray baking pan with nonstick spray.

In large bowl mix eggs, bread crumbs, cilantro, garlic, oregano, 1 1/2 tsp of chili powder, salt, and cumin.


Add turkey and mix all ingredients together.

Form 2 inch meatballs and place on baking pan.


Combine oil and remaining chili powder and brush on meatballs.

Bake for 22-25 min


I wanted to have rice with the meatballs, so I decided to cook the rice and then added a bit of cream of onion soup and salt and pepper to taste. It turned out to be a great combination. I finally found something new to make that doesn't take all day to prepare!

Saturday, February 26, 2011

The Lazy Seamstress Booster Seat Cover Tutorial


Ok, so I know that I can't be the only lazy seamstress out there in blogland! If there are too many steps, I just won't try it.

Both of my boys are using booster car seats and they are both stained and are a little embarrassing. I wanted to make new seat covers for them, but it seemed like too much work since I would have to add elastic, etc. So, my solution was velcro! To be even more lazy, I used sticky velcro! I may have to redo it with sew on velcro, but we'll see how long it lasts like this.


I've had this awesome Batman fabric in my stash for years! I bought it for $1 at a thrift store. It is very soft and is like sweatshirt material. You will need any fabric that will not unravel too badly.

1. Trace the original seat cover on the wrong side of your fabric. Make sure to trace along the part that folds down on the side by the cup holders.

2. Cut it out


3. Zig zag stitch around the entire piece so that it will minimize the unraveling. I used a longer stitch, about 4-5.


4. Place the velcro on each corner, sides and the front.

5. Line up the new cover on top of the original cover and place the velcro in the same places as the other.

That's it! It is so easy and should only take about 20 min! You can machine wash it when it gets dirty and replace them very easily.


Don't forget to check out my Fringy Scarf Giveaway! You can still enter through Feb 28th. 


Sunday, February 20, 2011

Playground Slide Mat

I am happy to know that Spring is on it's way, but know that our brutal Vegas summer is on it's way as well! Having two boys at home all summer can really drive a mama crazy! I love going to the parks and most of them have canopies over the playgrounds, but the slides still get really hot. We have taken towels for them to slide on, but I decided to take it a step further. I found a tutorial on making a slide mat, but I wanted it to look really cute, so I used cute fabric, a bright border and handles.

This is a tutorial on making a mat for ages 5 and under. My 7 yr old tried it and was way too tall.

Supplies:
I found the towel at Walmart for $2.50. The colors are very limited, but it's a great price!
1 package of extra wide double sided quilt binding

Coordinating thread

I found this really cute Yogi Bear flannel fabric for $4.44/yd at Walmart. It only takes 1/3 yd!


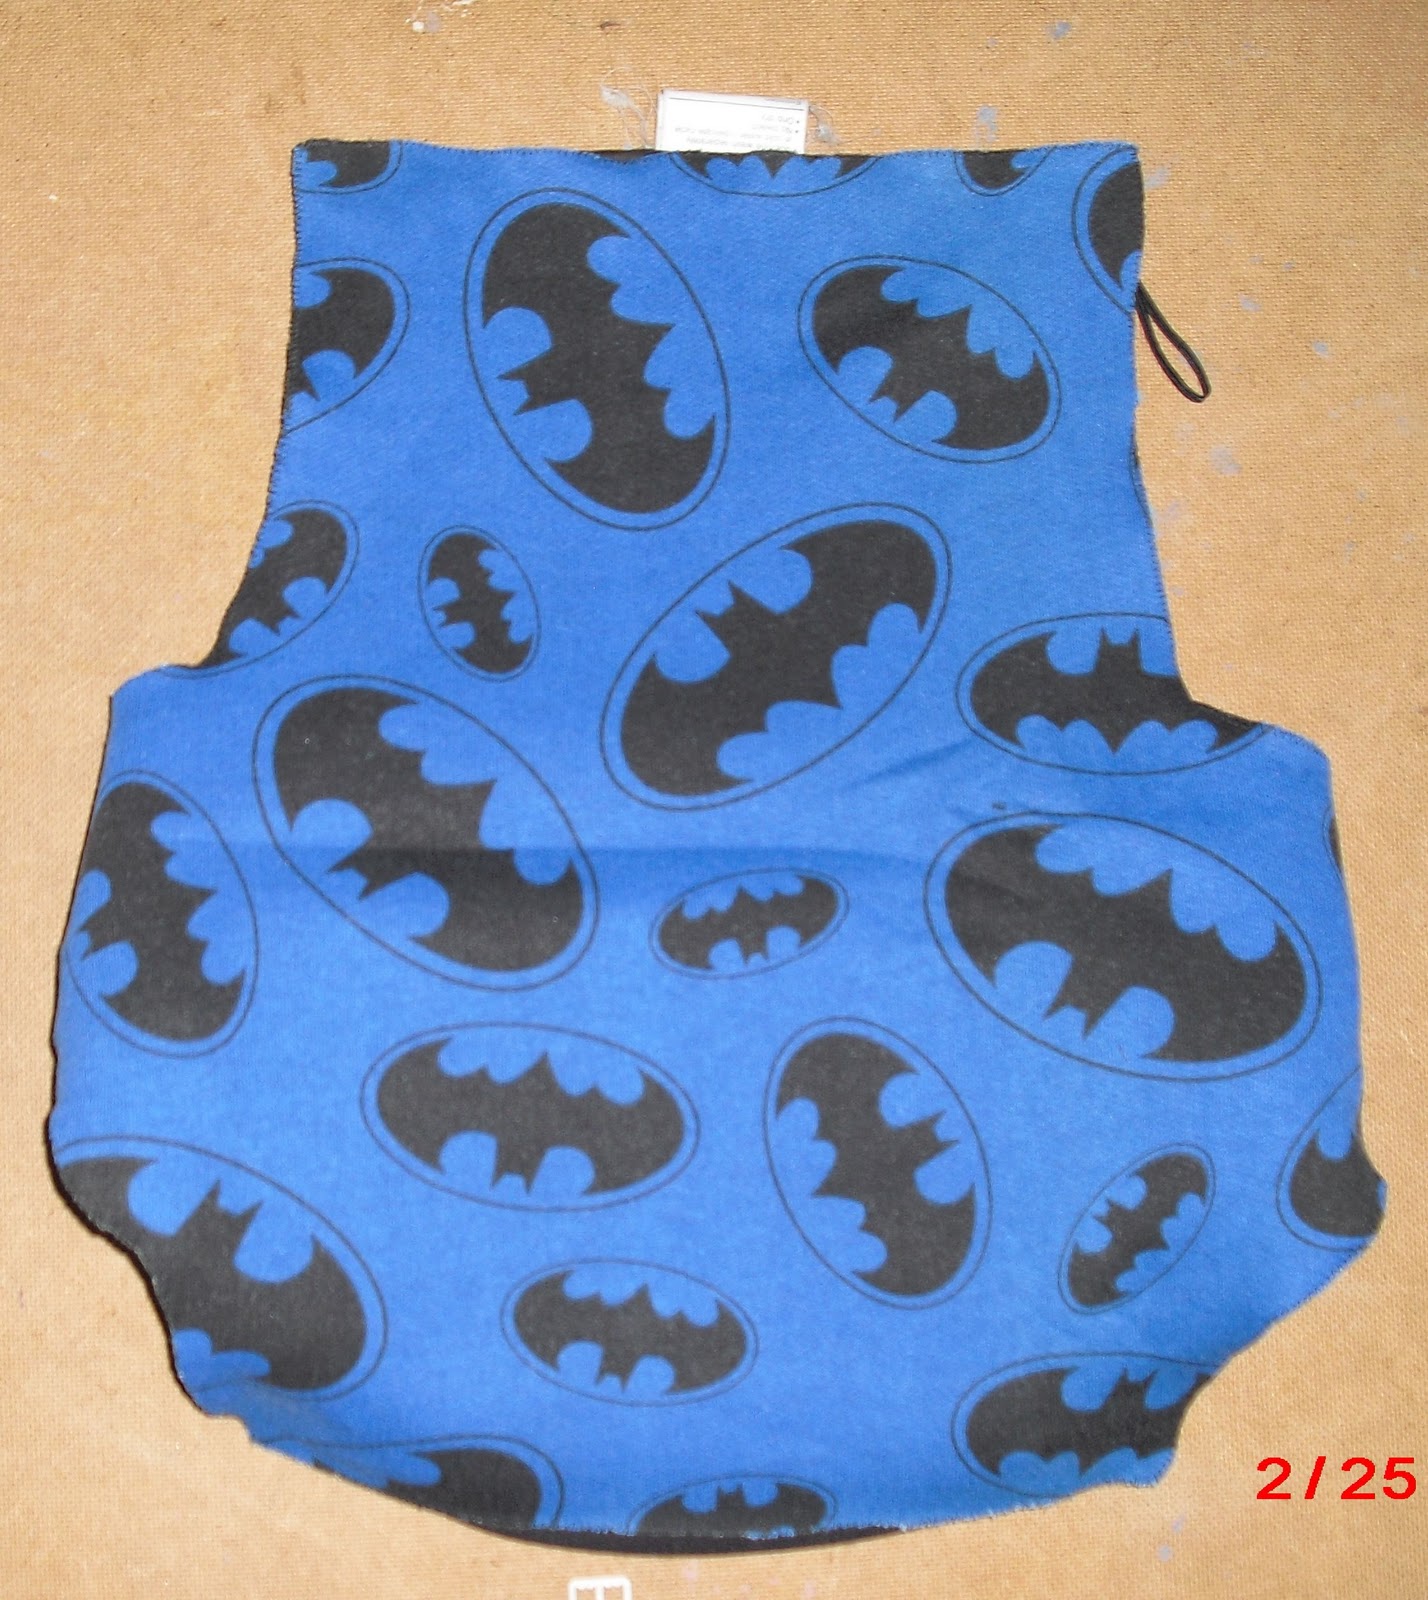
First, lay out the towel and fold one end up about 15 in. This will be the pocket for their feet.


Next, measure the rectangle for the foot pocket. and cut the same size out of the flannel fabric. Mine was 15" x 26".


Now for the sewing:

First, you will need to pin and sew the binding to the top edge of the pocket, making sure to turn under the edges. 


Next, pin and sew along both sides. Make sure to sew through all three layers of fabric, 2 layers of the towel and 1 layer of the pocket fabric. It will get a little bit thick, but my sewing machine had no problem with it. You may need to adjust the stitch length to be a little bit longer.


Now it's time to pin and sew the binding on to one of the sides and work your way to the bottom and the other side. Make sure to turn under the ends of the binding so that there are no raw edges. 


Lastly, measure about 8-9 in of the left over binding and cut 2 pieces. Sew along the open side to make long strips. Turn under each end and sew across. These will become the handles.


Pin the handles onto the towel, right above the top of the foot pocket. Make sure to pin them with the middle lifted up. This will make it easier for the little hands to grab them. You should probably double stitch this area for durability. I stitched a square on each end of the handle about an inch wide. 


That's it! You're done! Now it's time to go to the park and enjoy! 

Does anyone have an idea for a clever name for it?


Don't forget to enter my Scarf Giveaway!!


If you are a new blogger, go check out Debbiedoo's Newby Linky party! She's the best. There are some great links on her blog!


Thank you Amanda for featuring my blog on your Top 20! You all can check her awesome blog out at Today's Top 20!


UndertheTableandDreaming


Sumo Sweet Stuff


Photobucket

Thursday, February 17, 2011

100 Followers/End of My First Blogging Month Giveaway!!

I'm so excited! I have over 100 followers!

My first giveaway's prize will be my fringy scarf. I sold over 50 of them just around town this winter. Trust me, you will love it!


Ways to enter the giveaway:
1. Follow my page (1 entry)
2. Like my facebook page (1 entry)
3. Link my page on your blog (1 entry)
4. Share my facebook page on your page (1 entry)

Make sure to leave a comment to let me know when you follow, link or share! I want to make sure that entries don't get overlooked. (4 entries possible per person)

Entries must be submitted by Feb 28th. The winner will be announced on March 1st.

I decided to do it the old fashioned way and my son will draw a name from a hat.

Thank you all so much for following my blog!

I have linked to these awesome linky parties! Go check them out:

Stinkin Cute Thursday Button


make it wear it

Fancy This


Iron Violet Designs

Sassy Sites


Sumo Sweet Stuff

Monday, February 14, 2011

Mod Podged Comic Book Letters

I made these letters a while ago. Our last name is Byrd and since my hubby and boys love superheroes, I wanted to make some wall art out of comic books. Of course I had to have the hubby pick out which comic books were acceptable to tear up and I was ready to create!

This is what I made:


I like them all, but like the way that the Superman one turned out the best. What do you think?


I am participating in Made By You Mondays for the first time!


I am also participating in Debbiedoo's Newby Party for the second week!

Mod Podged Comic Book Shoes at Just A Geek Named Jess

I just came across the most awesome project ever! My hubby is a huge comic book lover and my boys have been brainwashed since they were born to love them as well. They have an incredible amount of knowledge in their brains about superheroes and Star Wars! I got really excited when I saw this project by Just A Geek Named Jess


I will be trying this and may just have to try to make some for my boys as well. Another project for my "to do" list!!!

Thursday, February 10, 2011

Mod Podged Ceramic Water Crock Tutorial


Since we live in Vegas, we go through a lot of water in the summers. I bought this plain white water crock last year. It was screaming, "Mod Podge me!". So, of course I finally listened and am so in love with the end result!

I used about 4 pieces of scrapbooking paper. These were the ones that have a coordinating color on the back side. I chose this particular print because it looks like water drops...super cute right?


I love the way ripped paper looks when it's Mod Podged. The raw edges add a great look to the finished product. I ripped the paper into strips and made sure that there were no straight edges left. Then you can tear them up into smaller pieces.

First, unscrew the dispenser part from the inside and remove it. Brush on the Mod Podge where you want to start. Then put a piece of paper on that spot. Brush more Mod Podge on the paper until it's smooth.


*The best way to smooth it is to use your finger. Brushes leave brush strokes and you can really get them out as well as any air bubbles this way.

Keep adding paper around the crock. When you are doing the part that is curved, use smaller pieces. When you are at the bottom, just smooth the paper along the edge with your finger. I made sure that my papers had somewhat straight edges along the bottom.


I saved the top for last, again using somewhat straight edges.

Let it all dry really well. Overnight is best. Since Mod Podge isn't water proof, I recommend using a non-toxic sealer.


Screw the dispenser part back on and it's all done!